Getting started with Anyscale running on Azure

In this walk through, we'll set up a very basic AKS cluster to get you quickly up and running with the Anyscale platform using AKS as the compute backend. We'll run this cluster in our own Azure Virtual Network and have it connected to an Azure Blob Storage Account on that VNet. Finally, we'll execute the basic Anyscale 'Hello World' demo on that compute.
Pre-requisites
Creating the Infrastructure
In this lab environment we'll be deploying the following components:
- Azure Resource Group - To container all of the resources
- Azure Virtual Network - As the network target for the AKS deployment
- Azure Kubernetes Service Cluster - Backend compute hosting target for Anyscale
- Azure Blob Storage Account - Used by Anyscale for various storage needs
- Managed Identity & Federated Identity Credntial - Used by Anyscale to access the Blob Storage Container
Setting Environment Variables
Before deploying our resources, lets establish some key variables we'll use throughout to simplify our deployment.
# Name of the resource group we will create
RESOURCE_GROUP=anyscale-rg
# Azure Region where we will deploy
LOCATION=northcentralus
# Name of the Virtual Network we'll create
VNET_NAME=anyscale-vnet
# Name of the AKS cluster to be created
CLUSTER_NAME=anyscale-aks
# Name of the Azure Storage Account. Must be globally unique
STORAGE_ACCOUNT_NAME=anyscale$RANDOM
# Name of the blob storage container we'll create in the storage account
STORAGE_CONTAINER_NAME=anyscale-container
# Namespace where the Anyscale Operator will be deployed
ANYSCALE_NAMESPACE=anyscale-operator
# Name of the cloud instance we'll use in the Anyscale Portal
# You should make this unique
ANYSCALE_CLOUD_INSTANCE_NAME=anyscale-cloud-instance
Creating the Resource Group and Virtual Network
Now, lets go ahead and create both the Resource Group and the Virtual Network where our Cluster and Storage Account will reside.
# Login to Azure and select the target deployment subscription
az login

# Create the resource group
az group create -g $RESOURCE_GROUP -l $LOCATION

# Create the Vnet along with the initial subet for AKS
az network vnet create \
-g $RESOURCE_GROUP \
-n $VNET_NAME \
--address-prefix 10.140.0.0/16 \
--subnet-name aks \
--subnet-prefix 10.140.0.0/24

# Get a subnet resource ID
AKS_VNET_SUBNET_ID=$(az network vnet subnet show -g $RESOURCE_GROUP --vnet-name $VNET_NAME -n aks -o tsv --query id)

# Create a subnet for the private endpoint
az network vnet subnet create \
-g $RESOURCE_GROUP \
--vnet-name $VNET_NAME \
-n storage-pe-subnet \
--address-prefix 10.140.1.0/24

# Get the storage subnet ID
STORAGE_SUBNET_ID=$(az network vnet subnet show -g $RESOURCE_GROUP --vnet-name $VNET_NAME -n storage-pe-subnet -o tsv --query id)
Creating the Storage Account
Now we'll create the Azure Blob Storage Account with a private endpoint connected to our VNet. We create this storage account with private link enabled because most enterprise policies block public blob storage accounts.
# Create a storage account
az storage account create \
--name $STORAGE_ACCOUNT_NAME \
--resource-group $RESOURCE_GROUP \
--location $LOCATION \
--sku Standard_LRS

# Create a blob container
az storage container create \
--name anyscale-container \
--auth-mode login \
--account-name $STORAGE_ACCOUNT_NAME

# Disable public network access now that the container is created
az storage account update \
-n $STORAGE_ACCOUNT_NAME \
-g $RESOURCE_GROUP \
--public-network-access Disabled

# Create a private DNS zone for blob storage
az network private-dns zone create \
-g $RESOURCE_GROUP \
-n privatelink.blob.core.windows.net

# Link the private DNS zone to the VNet
az network private-dns link vnet create \
-g $RESOURCE_GROUP \
--zone-name privatelink.blob.core.windows.net \
-n storage-dns-link \
--virtual-network $VNET_NAME \
--registration-enabled false

# Create the private endpoint for blob storage
az network private-endpoint create \
-g $RESOURCE_GROUP \
-n ${STORAGE_ACCOUNT_NAME}-pe \
--vnet-name $VNET_NAME \
--subnet storage-pe-subnet \
--private-connection-resource-id $(az storage account show -n $STORAGE_ACCOUNT_NAME -g $RESOURCE_GROUP -o tsv --query id) \
--group-id blob \
--connection-name ${STORAGE_ACCOUNT_NAME}-pe-connection

# Create the private DNS zone group to automatically configure DNS
az network private-endpoint dns-zone-group create \
-g $RESOURCE_GROUP \
--endpoint-name ${STORAGE_ACCOUNT_NAME}-pe \
-n storage-dns-zone-group \
--private-dns-zone privatelink.blob.core.windows.net \
--zone-name blob
Creating the AKS Cluster
Great! Now we're ready to create our AKS Cluster. We'll create the cluster with the following configuration details. Note, Anyscale does not take a dependency on any of these cluster features, other than the need for multiple nodepools with the preferred target instance types and Workload Identity so that the anyscale operator can authenticate to the Blob Storage account via Entra ID rather than storage key.
- 2 nodepools (1 systempool, 1 job execution pool)
- Network Plugin: Azure
- Network Plugin Mode: Overlay
- Network Dataplane: Cilium
- Set the Pod and Service CIDRs to not overlap with the Vnet
- Enable Managed Identity
- Enable OIDC Issuer for Workload Identity
- Enable Workload Identity
- Enable Cluster Autoscaler and set min and max node counts on all nodepools
# Cluster Creation Command
az aks create \
-g $RESOURCE_GROUP \
-n $CLUSTER_NAME \
--nodepool-name systempool \
--node-vm-size standard_d2s_v5 \
--node-count 1 \
--network-plugin azure \
--network-plugin-mode overlay \
--network-dataplane cilium \
--vnet-subnet-id $AKS_VNET_SUBNET_ID \
--pod-cidr 10.244.0.0/16 \
--service-cidr 10.245.0.0/24 \
--dns-service-ip 10.245.0.10 \
--enable-managed-identity \
--enable-oidc-issuer \
--enable-workload-identity \
--enable-cluster-autoscaler \
--min-count 1 \
--max-count 3 \
--generate-ssh-keys

# Add a nodepool for anyscale jobs and taint the nodes for Anyscale
az aks nodepool add \
-g $RESOURCE_GROUP \
--cluster-name $CLUSTER_NAME \
-n cpu16 \
--node-vm-size "standard_d16s_v5" \
--enable-cluster-autoscaler \
--min-count 0 \
--max-count 10 \
--node-taints "node.anyscale.com/capacity-type=ON_DEMAND:NoSchedule"

# Get the AKS Cluster credentials
az aks get-credentials -g $RESOURCE_GROUP -n $CLUSTER_NAME
Setting up the Managed Identity and Federated Credential
The Anyscale operator will need to authenticate to the Azure Blob Storage container. For added security, Ansycale will use Workload Identity to authenticate to blob storage with a federated Azure Managed Identity. In the following steps we'll get the AKS Cluster OIDC issuer, create the Azure Managed Identity and create the Federated Identity.
ANYSCALE_NAMESPACE=anyscale-operator

# Get the OIDC Issuer URL
export AKS_OIDC_ISSUER="$(az aks show -n $CLUSTER_NAME -g $RESOURCE_GROUP --query "oidcIssuerProfile.issuerUrl" -otsv)"

# Create the managed identity
az identity create --name anyscale-mi --resource-group $RESOURCE_GROUP --location $LOCATION

# Get identity client ID
export USER_ASSIGNED_CLIENT_ID=$(az identity show --resource-group $RESOURCE_GROUP --name anyscale-mi --query 'clientId' -o tsv)

# Create the federated identity credential
az identity federated-credential create \
--name anyscale-federated-id \
--identity-name anyscale-mi \
--resource-group $RESOURCE_GROUP \
--issuer ${AKS_OIDC_ISSUER} \
--subject system:serviceaccount:${ANYSCALE_NAMESPACE}:anyscale-operator
Now that we have our federated managed identity, lets grant that identity "Storage Blob Data Contributor" rights on the target storage account.
# Get the storage account resource ID
STORAGE_ACCOUNT_ID=$(az storage account show \
--name $STORAGE_ACCOUNT_NAME \
--resource-group $RESOURCE_GROUP \
--query id \
--output tsv)

# Get the managed identity principal ID
ANYSCALE_MI_PRINCIPAL_ID=$(az identity show \
--name anyscale-mi \
--resource-group $RESOURCE_GROUP \
--query principalId \
--output tsv)

# Grant Storage Blob Data Contributor role to the managed identity
# Note: If you're moving very fast you may get a "Cannot find user" error.
# Wait a few seconds and run the command again.
az role assignment create \
--role "Storage Blob Data Contributor" \
--assignee $ANYSCALE_MI_PRINCIPAL_ID \
--scope $STORAGE_ACCOUNT_ID
Install in-cluster ingress controller
The Anyscale operator does need an ingress endpoint for some features to work. For our purposes, we'll just install ingress-nginx to keep it simple. For this install, we'll use a public ingress service, however you can enable with private ingress, assuming that you have private network access from the machine where you'll be using the Anyscale portal.
# Generate the values file
cat << EOF > nginx-values.yaml
controller:
  service:
    type: LoadBalancer
    annotations:
      service.beta.kubernetes.io/azure-load-balancer-health-probe-request-path: "/healthz"
  allowSnippetAnnotations: true
  config:
    enable-underscores-in-headers: true
    annotations-risk-level: "Critical"
  autoscaling:
    enabled: true
EOF

# Add the ingress-nginx helm repository
helm repo add nginx https://kubernetes.github.io/ingress-nginx

# Run a helm repo update
helm repo update

# Install ingress-nginx
helm upgrade ingress-nginx nginx/ingress-nginx \
--version 4.12.1 \
--namespace ingress-nginx \
--values nginx-values.yaml \
--create-namespace \
--install

# Check the install
kubectl get all -n ingress-nginx
Deploy Anyscale Cloud Instance
For the following steps, you will need access to Anyscale and be part of an Anyscale org. We'll get an API Key from the Anyscale portal, login locally via the Anyscale CLI, create a cloud instance and then attach our AKS Cluster to the Anyscale Cloud Instance.
Get your Anyscale API Key
First, login to the Anyscale portal at https://console.anyscale.com/
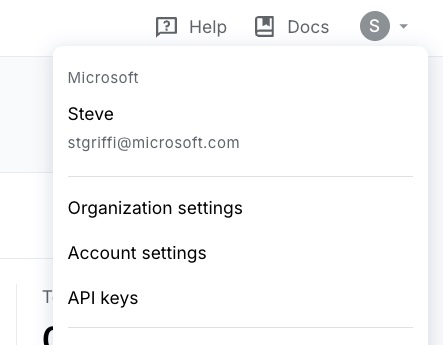
In the top right, click on your user icon and select "API Keys".
In the next window (API Keys) click "+ Create", set the expiration date and then select "Create a secret key".
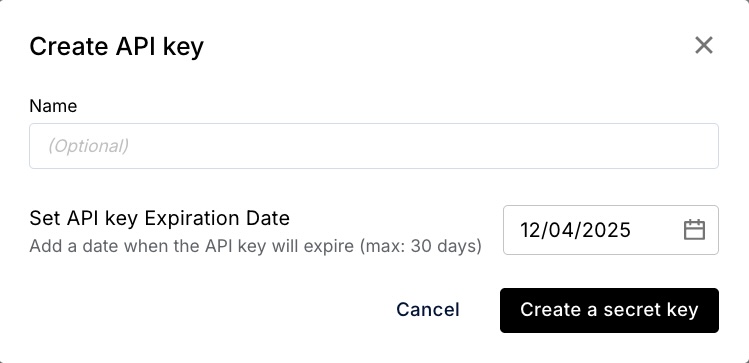
Save the output from the next screen out to a notepad for later use. You'll need this API Key when we register the cloud instance.
Create the Anyscale Cloud Instance
Now that we have our API Key, we can use the Anyscale CLI to register the cloud instance. First you'll need to log in, then we can run 'anyscale cloud register'. Notice that we're using the public link URL for our blob storage even though we created a private link. The public link will resolve to the private IP, and ensures the TLS certificates all work properly.
# Login to the anyscale CLI
anyscale login

# Anyscale API Key from the step above
ANYSCALE_CLI_TOKEN=

# Register the Anyscale cloud instance
anyscale cloud register \
--name $ANYSCALE_CLOUD_INSTANCE_NAME \
--region $LOCATION \
--provider azure \
--compute-stack k8s \
--cloud-storage-bucket-name "azure://${STORAGE_CONTAINER_NAME}" \
--cloud-storage-bucket-endpoint "https://${STORAGE_ACCOUNT_NAME}.blob.core.windows.net"
The output of the above command included a helm upgrade command you can use to install the Anyscale operator. That command will look like the command in the section below. You can either use that command and just add the target anyscale operator namespcae, or just grab the 'cloudDeploymentId' from that output and use it in the command below.
NOTE: It's important that the anyscale operator namespace match what you used when you created the federated identity credential. If those don't match then workload identity will not be able to properly resolve the federated identity.
helm repo add anyscale https://anyscale.github.io/helm-charts
helm repo update

# Get the 'cloudDeploymentId' from the Anyscale Cloud Register output
CLOUD_DEPLOYMENT_ID=

# Use the cloudDeploymentId from the output of the anyscale register command you ran above
helm upgrade anyscale-operator anyscale/anyscale-operator \
--set-string global.cloudDeploymentId=${CLOUD_DEPLOYMENT_ID} \
--set-string global.cloudProvider=azure \
--set-string global.auth.anyscaleCliToken=${ANYSCALE_CLI_TOKEN} \
--set-string workloads.serviceAccount.name=anyscale-operator \
--namespace $ANYSCALE_NAMESPACE \
--create-namespace \
--wait \
-i
After you run the above helm install, you should check the status of the deployment. At the writing of this article there is an issue with the Workload Identity configuration. If you see an error with the Anyscale Operator pod, you may need to run the following to patch the anyscale-operator service account to enable workload identity.
# To check the deployment status
kubectl get all -n $ANYSCALE_NAMESPACE

# Get the managed identity client id
MI_CLIENT_ID=$(az identity show -g $RESOURCE_GROUP -n anyscale-mi -o tsv --query clientId)

# Patch the service account to include the managed identity client id
kubectl patch sa anyscale-operator -n $ANYSCALE_NAMESPACE --type='json' -p="[{"op": "add", "path": "/metadata/annotations/azure.workload.identity~1client-id", "value": "$MI_CLIENT_ID"}]"

# Patch the service account to set the workload identity enabled flag
kubectl patch sa anyscale-operator -n $ANYSCALE_NAMESPACE --type='json' -p='[{"op": "add", "path": "/metadata/labels/azure.workload.identity~1use", "value": "true"}]'

kubectl delete pods -n anyscale-operator -l app=anyscale-operator
With the above steps complete, you should now be able to see your 'anyscale-operator' pods running successfully.
Deploy your first workload
Ok, so we have our Anyscale Cloud Instance. We have our AKS Cluster with the Anyscale Operator installed and connected to our cloud instance. Lets create our first workspace and run our first workload. For this, we'll just follow the workspace creation and 'Hello World' guides from the Anyscale documentation.
I won't run through all of the steps here, as they're well documented in the above links, however here are a few screen shots of a test run through.
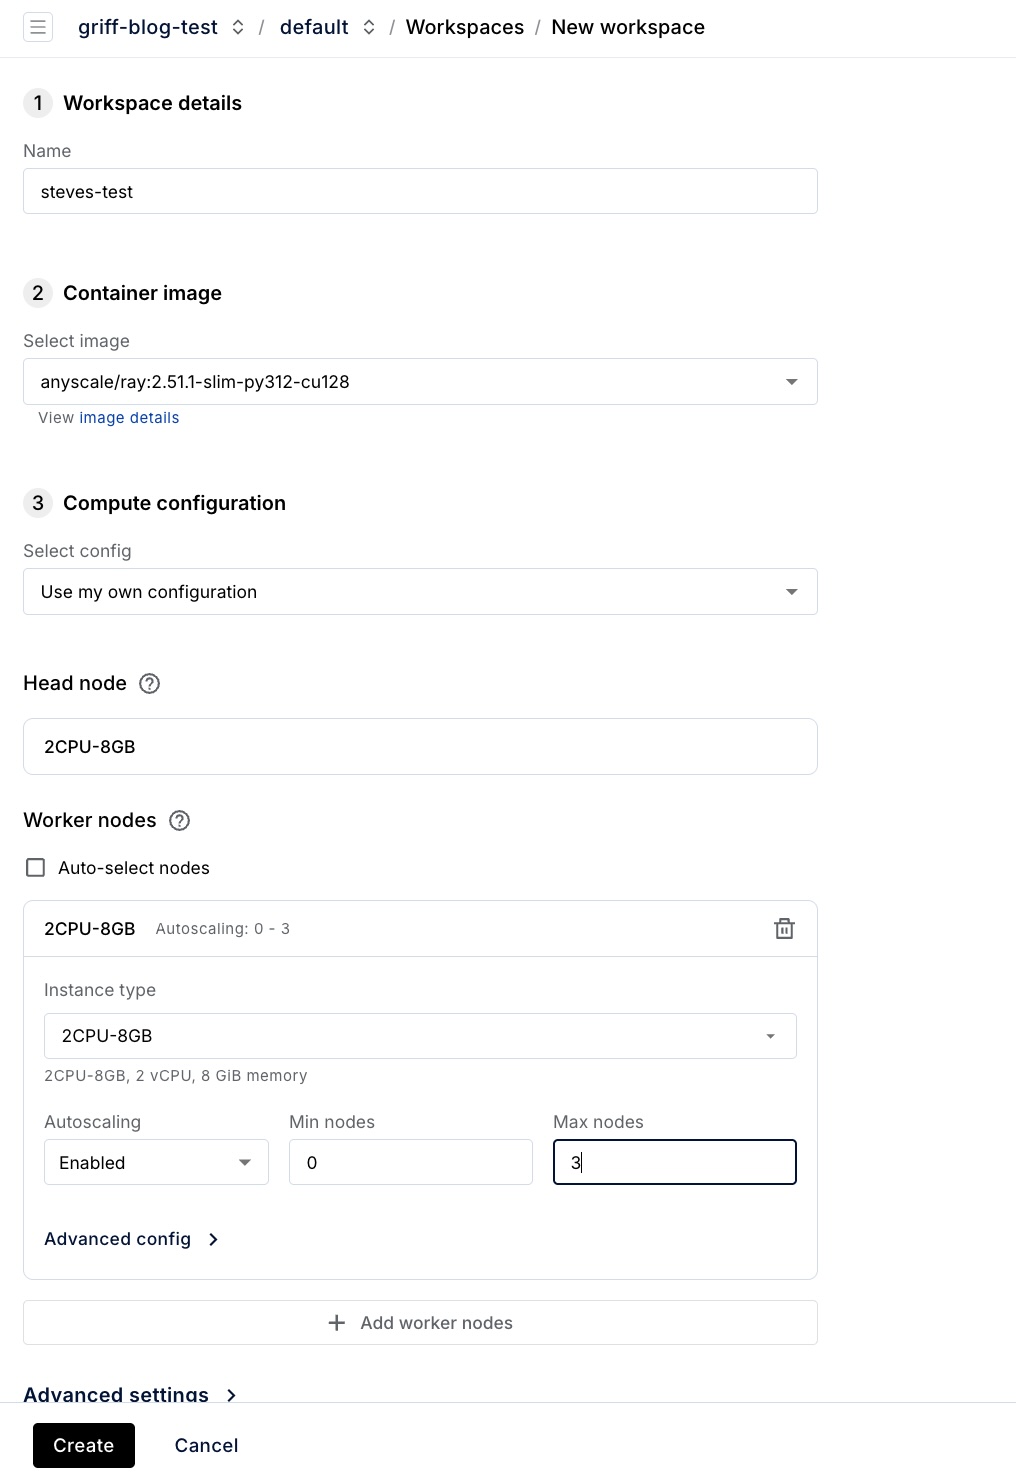
Creating the Workspace
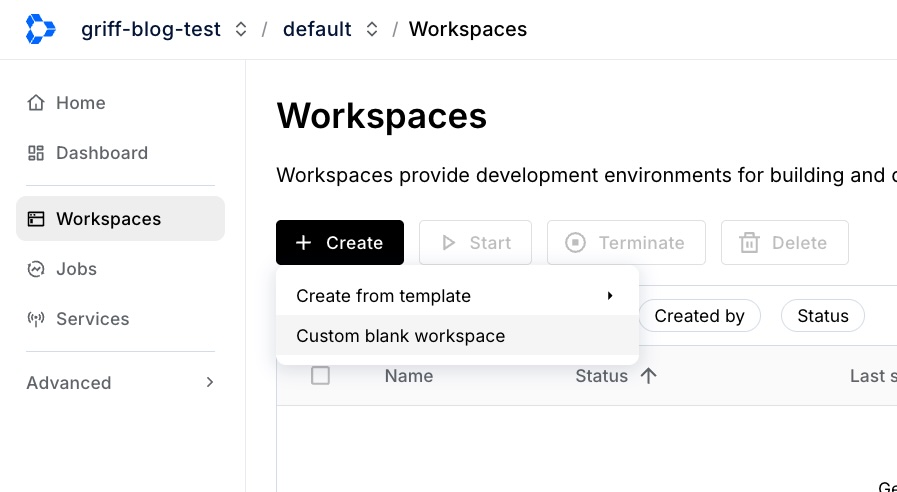
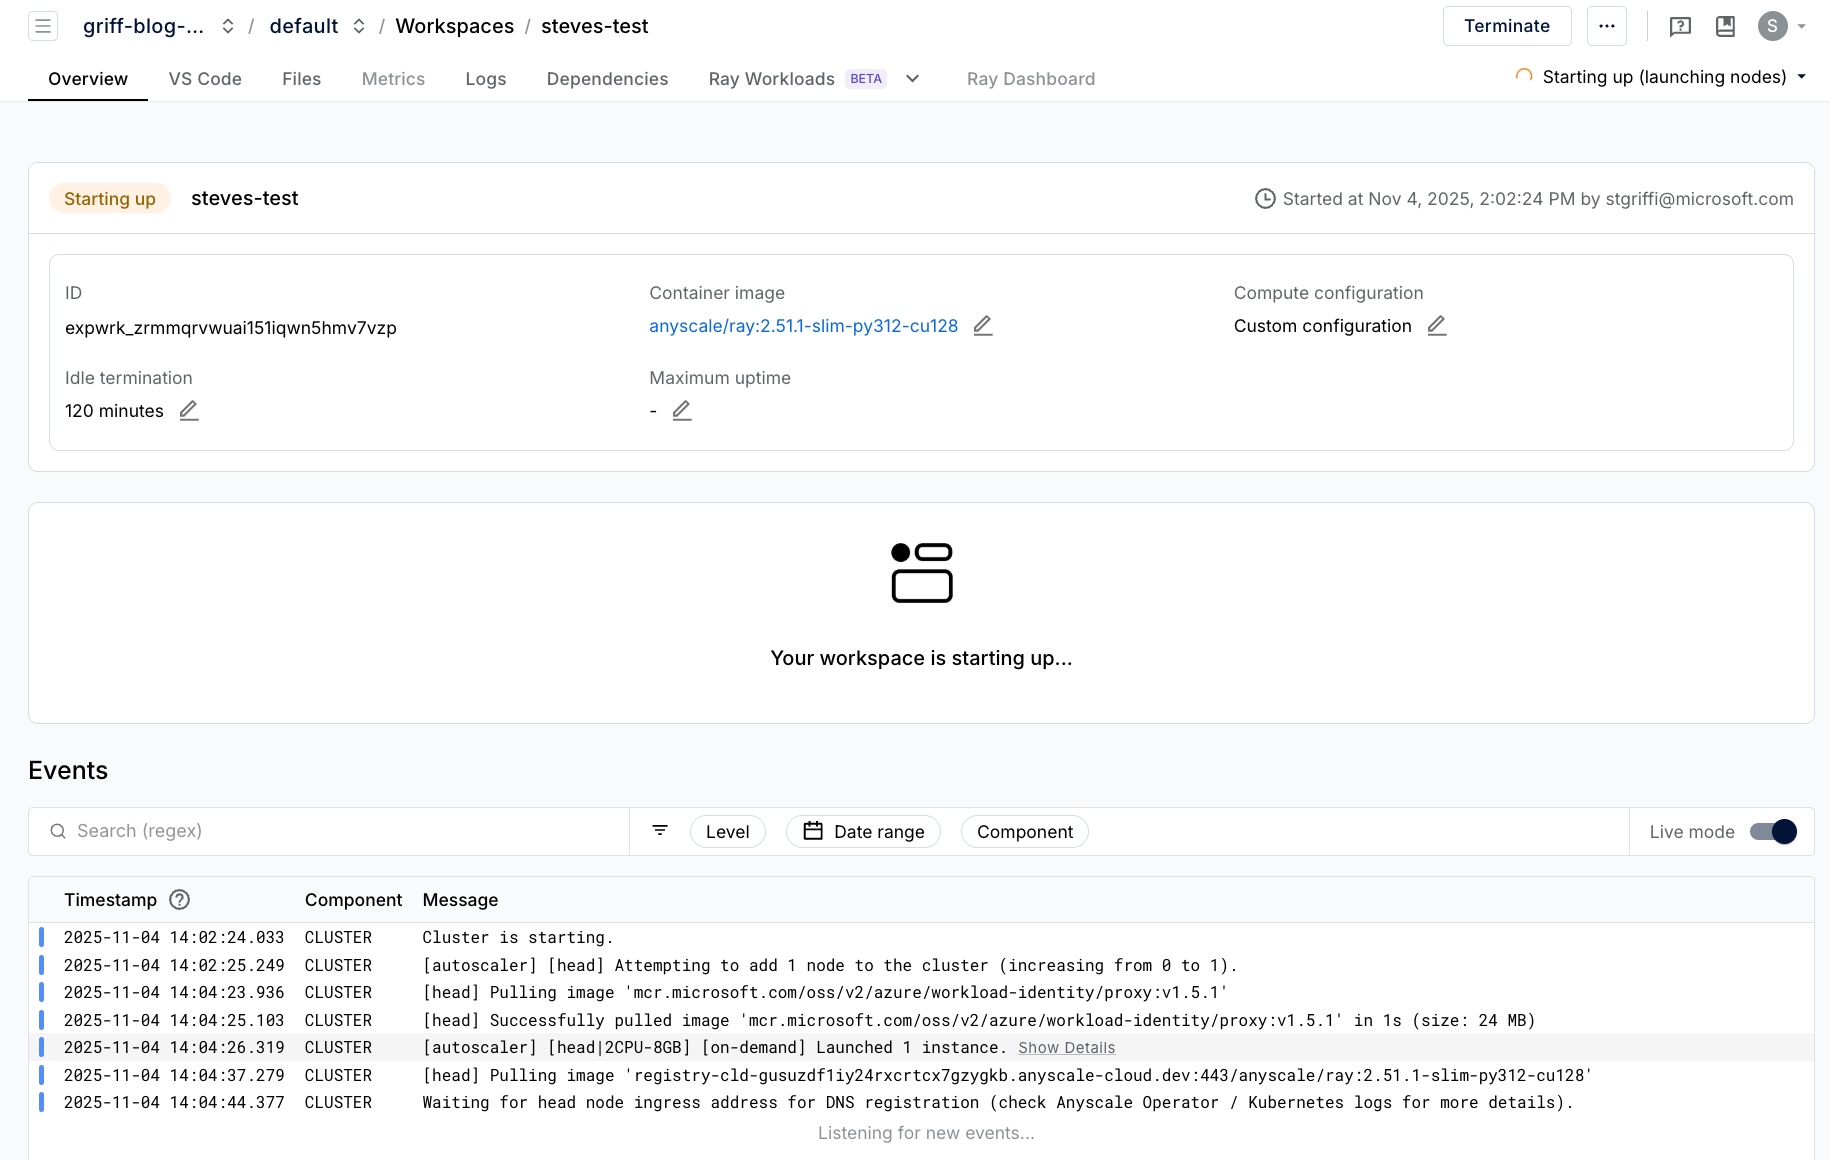
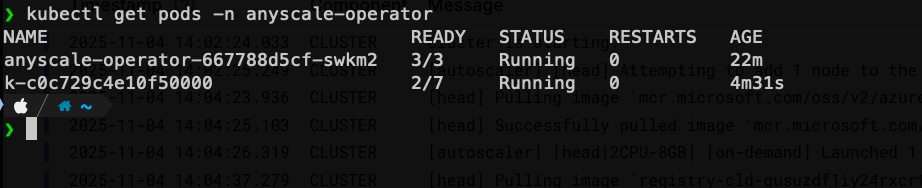
If you check the anyscale-operator namespace in your cluster, you should see the workspace pod starting.
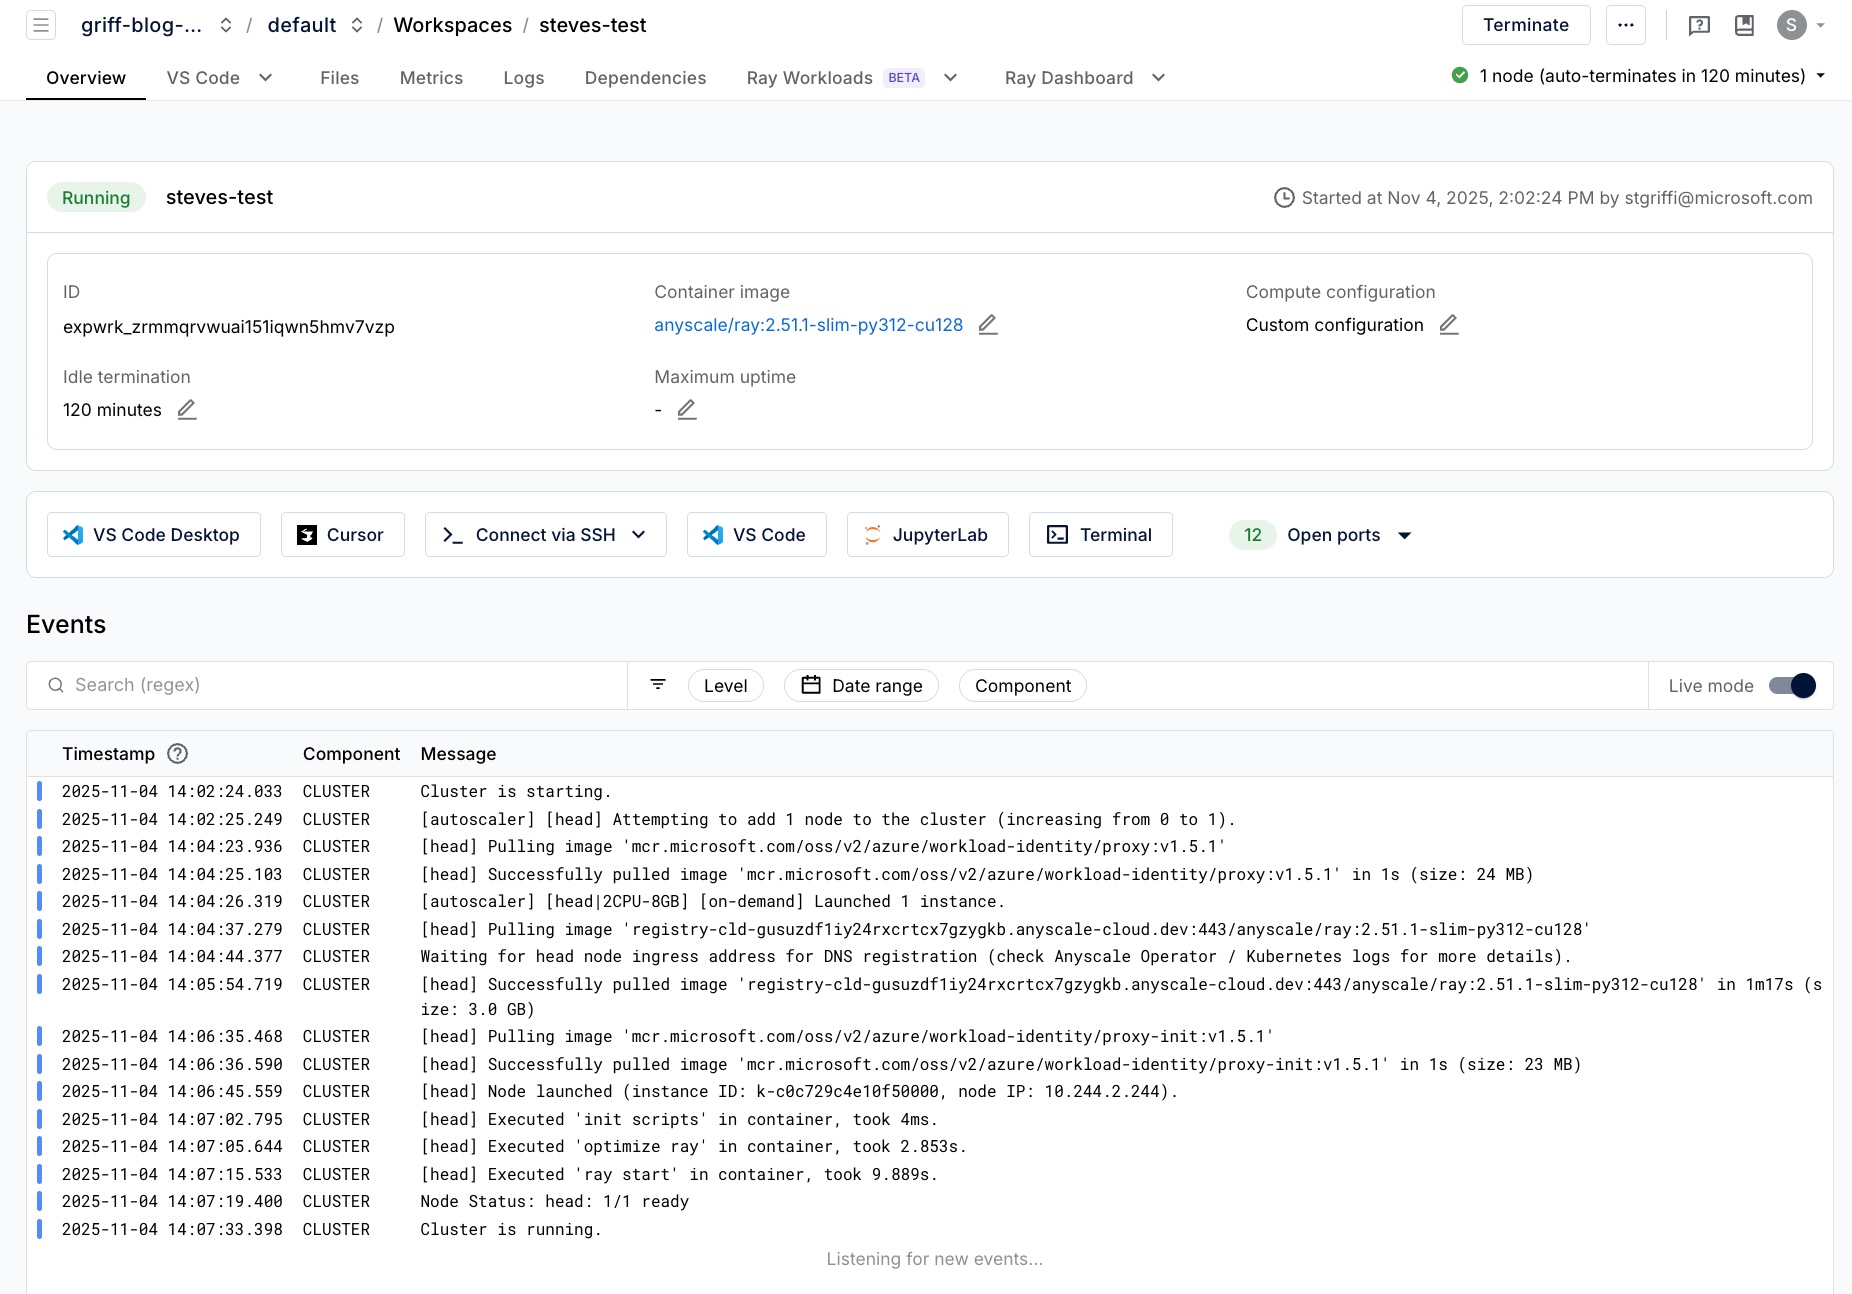
Run a workload

A quick note on compute instance types
You may have noticed that we didn't tell Anyscale what machine types we had running in our cluster. That's because the default helm chart includes an instance type already for the machine time we chose. If you're adding other machine types, like GPU nodes, you will need to update those instance types to make them available in the Anyscale portal. You can find more on that setup here
Conclusion
Congrats! You should now have a fully working Anyscale environment with AKS as the compute backend for job execution. There are plently more walkthough guides in the Anyscale docs. Go have fun!